
Have you ever stared at the pre-made, often overpriced grain salads at the grocery store and wondered if you could make something better at home? The answer is a resounding yes. Mastering how to make couscous from scratch is one of the simplest, most rewarding kitchen skills you can acquire. Far from being bland or complicated, this versatile staple can be the star of a hearty salad, a flavorful bed for stews, or a quick side dish that outshines any boxed mix. By learning this fundamental couscous recipe, you unlock a world of fast, healthy, and delicious meals that are infinitely customizable to your taste.
Ingredients & Supplies
Making couscous requires minimal ingredients and tools, making it perfect for any kitchen.
Ingredients:
- 1 cup (175g) dry couscous (standard or whole wheat)
- 1 ¼ cups (300ml) water or low-sodium broth (chicken or vegetable)
- ½ teaspoon salt (adjust to taste)
- 1 tablespoon olive oil or butter (optional, for flavor and fluffiness)
- Pinch of black pepper
Optional Flavor Boosters:
- Lemon zest or a squeeze of lemon juice
- Minced garlic or garlic powder
- Chopped fresh herbs (parsley, mint, cilantro)
- Toasted nuts or seeds (pine nuts, slivered almonds)
- Dried fruits (chopped apricots, raisins)
Supplies & Cookware:
- Medium saucepan with lid
- Fork (essential for fluffing)
- Measuring cups
- Kitchen scale (for precision, optional)
- Heatproof bowl (if using the “pour-over” method)
Timing/Cooking Schedule

One of the greatest advantages of couscous is its speed. Unlike rice or quinoa, which can take 15-20 minutes of active simmering, couscous is more about resting than cooking.
- Prep Time: 2 minutes (measuring ingredients)
- Active Cooking Time: 3 minutes (boiling liquid)
- Resting Time: 5 minutes
- Total Time: 10 minutes
This schedule makes it faster than ordering takeout and perfect for a last-minute side dish. You can have a flavorful base for a meal ready in roughly the time it takes to set the table.
Step-by-Step Instructions
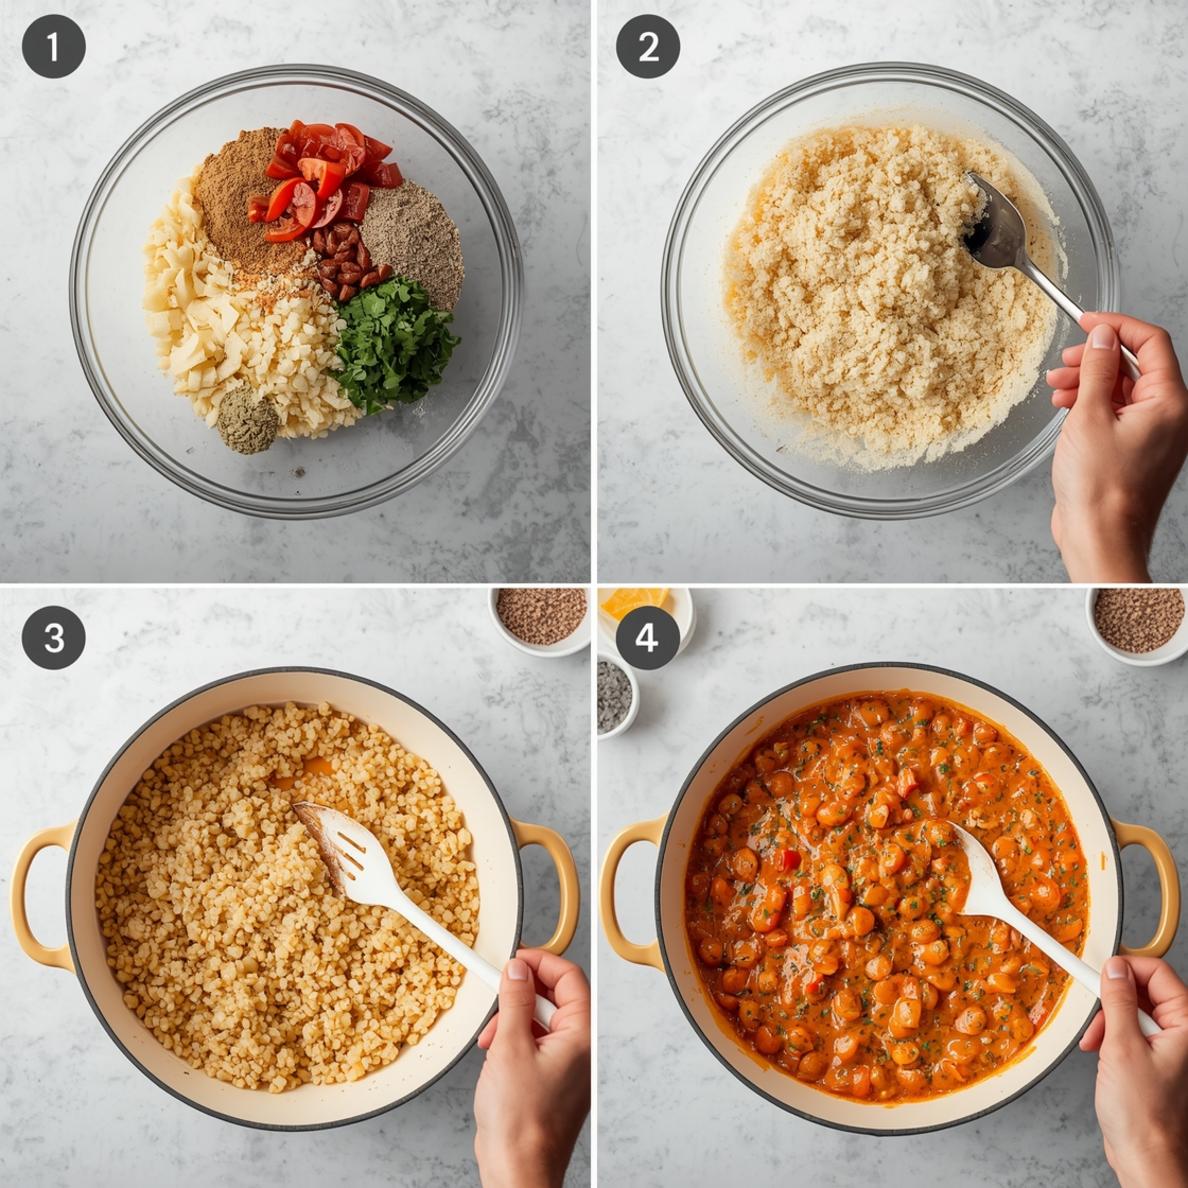
Follow these simple steps for perfectly separate, light, and fluffy grains every single time.
1. Heat the Liquid: In your medium saucepan, combine the water or broth, salt, and olive oil or butter. Bring the mixture to a rolling boil over high heat.
2. Combine and Remove from Heat: As soon as the liquid is boiling, remove the saucepan from the heat. Immediately stir in the dry couscous with a fork, ensuring all the grains are submerged. Cover the pot tightly with its lid.
3. Let it Steam: This is the most crucial step in the process of how to make couscous. Do not peek! Let the covered pot sit undisturbed for 5 full minutes. The couscous will absorb all the hot liquid and cook through via steam.
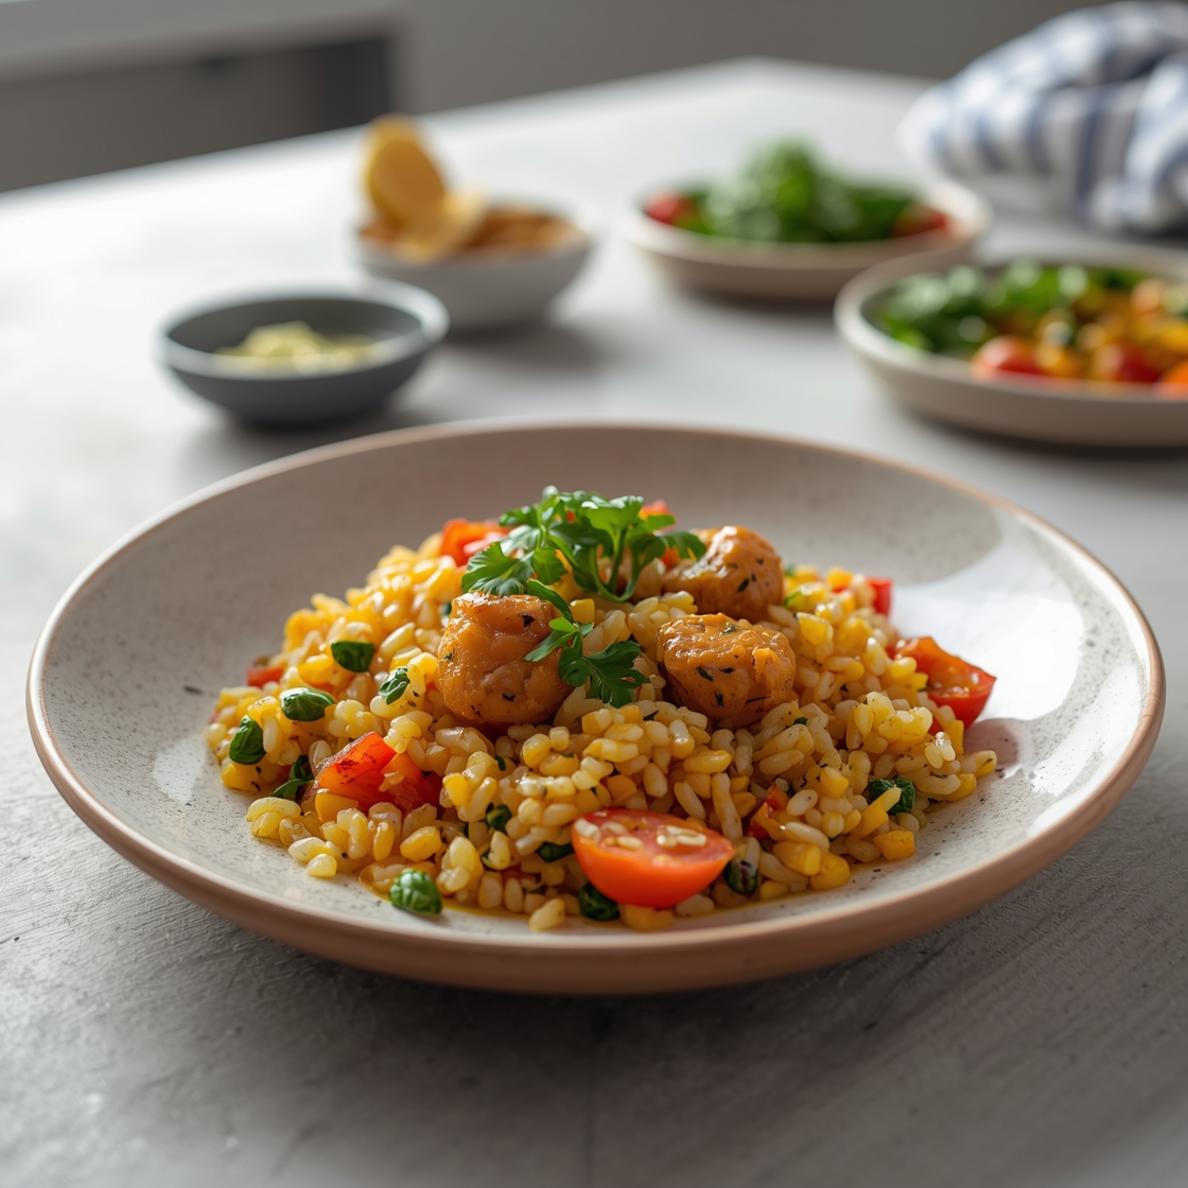
4. Fluff and Finish: After 5 minutes, remove the lid. Use your fork to gently fluff the couscous, breaking up any clumps. The grains should be tender and separate. This is the perfect time to stir in your chosen flavor boosters—fresh herbs, lemon zest, or dried fruit. Your foundational couscous recipe is now complete and ready to serve or use as a base for other ingredients.
Nutritional Benefits/Advantages
Couscous is more than just a quick carb. Made from semolina wheat, it offers a good source of plant-based protein and fiber, especially if you opt for the whole-wheat variety, which aids in digestion and helps you feel full longer. It’s naturally low in fat and provides essential nutrients like selenium (an important antioxidant) and B vitamins, which support energy metabolism. As part of a balanced meal with vegetables and lean protein, it’s a wholesome choice for sustained energy.
Tips, Alternative Methods, or Cooking Advice
- Grain Variations: Try pearl (Israeli) couscous for a chewier, pasta-like texture. It requires simmering in boiling water for 8-10 minutes, similar to pasta.
- Dietary Adjustments: For a gluten-free alternative, look for couscous made from sorghum or corn. Quinoa can also be used in its place with adjusted liquid ratios.
- Flavor Infusion: Toast the dry couscous in the saucepan with a bit of oil for 2-3 minutes before adding your boiling liquid. This adds a wonderful nutty depth.
- No-Stove Method: In a heatproof bowl, combine dry couscous with boiling liquid and a drizzle of oil. Cover tightly with plastic wrap and let sit for 5-7 minutes, then fluff.
Common Mistakes to Avoid
Avoiding these pitfalls guarantees perfect results:
- Peeking During Steaming: Lifting the lid releases precious steam, resulting in undercooked, crunchy couscous. Trust the process and wait the full 5 minutes.
- Using a Spoon to Fluff: A spoon mashes the delicate grains together. Always use a fork to gently separate and aerate them.
- Incorrect Liquid Ratio: Too much liquid makes it mushy; too little leaves it dry. The standard 1:1.25 (couscous to liquid) ratio is your golden rule. Adjust slightly based on your brand’s instructions.
- Skipping the Fat: Adding a small amount of oil or butter isn’t just for flavor—it coats the grains and helps prevent them from sticking together into a gummy mass.
Storage/Maintenance Tips
Store leftover cooked couscous in an airtight container in the refrigerator for up to 3-4 days. To reheat, the microwave is your friend: sprinkle a teaspoon or two of water over the couscous to reintroduce moisture, cover loosely, and heat in 30-second intervals, fluffing with a fork between each. You can also reheat it gently in a skillet with a tiny bit of oil or broth, stirring frequently until warmed through.
Conclusion
Learning how to make couscous is a culinary game-changer that demystifies a world of quick, healthy meals. This fundamental couscous recipe is your ticket to moving beyond basic sides into creating vibrant, satisfying dishes tailored to your preferences.
It proves that with the right technique, even the simplest ingredients can be transformed into something extraordinary. So, grab your fork and saucepan—your first perfect batch of fluffy, flavorful couscous is just 10 minutes away. We’d love to hear how it goes! Share your creations and favorite add-ins in the comments below.
FAQs
Q: Is couscous the same as quinoa?
A: No. Couscous is a tiny pasta made from semolina wheat, while quinoa is a gluten-free seed. They have different textures, cooking times, and nutritional profiles.
Q: Can I make couscous ahead of time for meal prep?
A: Absolutely! Cooked couscous stores beautifully in the fridge for 3-4 days. Let it cool completely before storing. Fluff it with a fork and add a splash of water or lemon juice when reheating to refresh it.
Q: My couscous is clumpy. What did I do wrong?
A: Clumping is usually caused by not fluffing it with a fork immediately after steaming, or by stirring it too vigorously. Next time, fluff gently as soon as the resting time is up. Ensuring you use the correct liquid ratio also helps.
Q: What’s the best liquid to use for the most flavor?
A: While water works, using a low-sodium vegetable, chicken, or mushroom broth instead will infuse the couscous with incredible savory flavor from the inside out. It’s the easiest single upgrade you can make.
Tried this recipe? Rate it from 1-5
i love it
i really like it